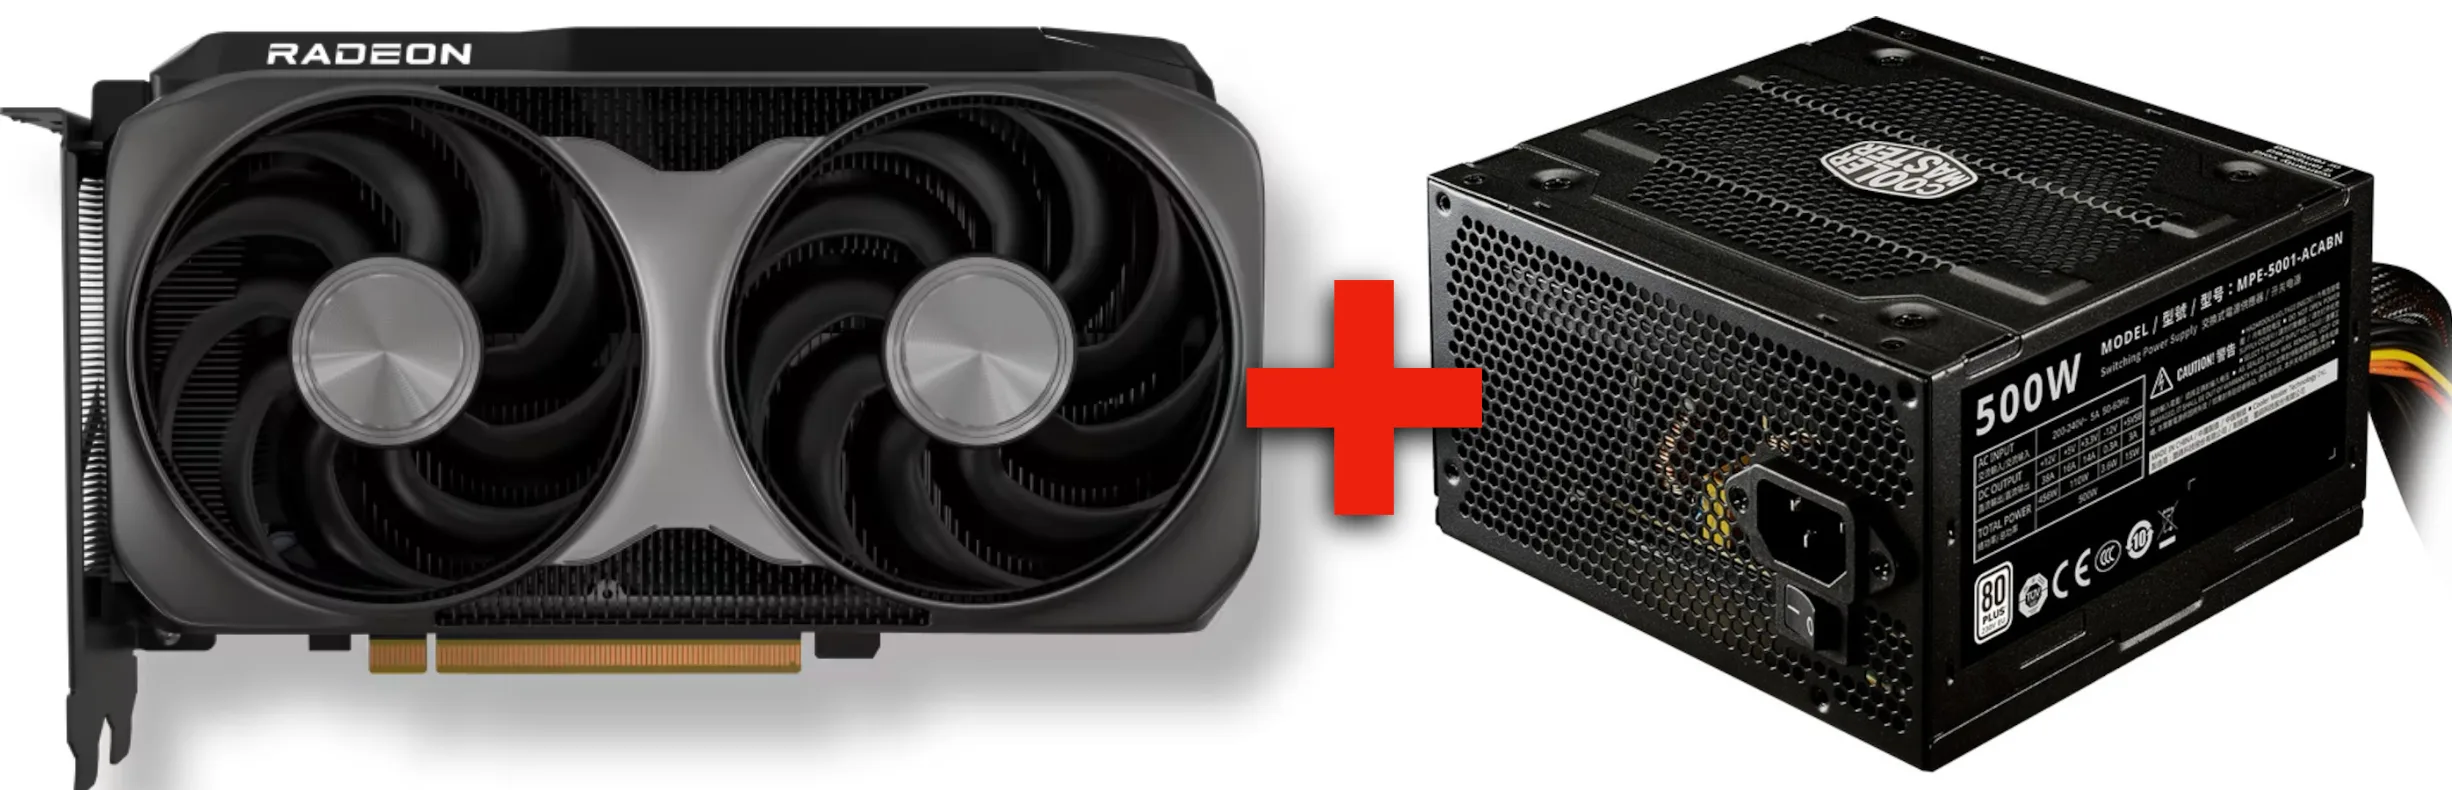
Power supply units (PSUs) are the unsung heroes of our PCs, silently providing the needed energy to keep your apps and games running smoothly. However, like any component, PSUs can fail over time, potentially causing issues throughout your system.
In a worst-case scenario, the PSU might literally go up in flames. This is something that can and does occasionally happen to low-quality PSUs under constant load. However, it is more likely that you notice early warning signs if you know what to look for.
Common Symptoms of a Failing Power Supply
When a power supply unit begins to fail, it can manifest in a variety of ways – some more obvious than others. The following are some of the most common signs that your PSU might be on its way out.
Unexpected System Shutdowns and Restarts

Unexpected shutdowns can happen randomly or during high system load. When the PSU can’t provide stable power, safety features may trigger a shutdown to prevent component damage. Of course, damage in the form of data loss is also likely.
Unfortunately, shutdowns and restarts can happen for a lot of reasons, but a failing PSU can be one of them.
Instability Under Heavy Loads
A PSU nearing the end of its life may struggle to provide consistent power during high-demand situations. Symptoms can be crashes, freezes, or performance throttling when running resource-intensive applications, like games.
You might notice that your system runs fine during light tasks but becomes unstable when pushing your hardware to its limits. This symptom can be due to other components like the CPU or GPU. However, if you’ve recently upgraded your system and are experiencing new stability issues, it’s worth considering whether your existing PSU is able to power your upgraded components.
Strange Noises from the PSU
Auditory cues can be valuable indicators of PSU health. While all PSUs produce some level of noise from the fan, unusual sounds can signal impending failure. Listen for:
- Buzzing or humming: This could indicate failing capacitors or coils within the PSU.
- Clicking or ticking: Often a sign of a failing fan or loose components.
- Grinding: Usually indicates a failing fan bearing.
It’s important to note, though, that some high-end PSUs have fan stop features for silent operation at low loads, so make sure you’re familiar with your PSU’s normal behavior before assuming a quiet PSU is malfunctioning.
Visual Signs and Smells

Sometimes, a failing PSU will provide more obvious clues:
- Smoke or burning smells: This is an immediate red flag. If you notice any smoke or burning odors coming from your PC, shut it down immediately and unplug it from the wall. This could indicate a catastrophic PSU failure that poses a fire risk.
- Bulging or leaking capacitors: If you can visually inspect your PSU, look for any capacitors that appear swollen or are leaking fluid. This is a clear sign of component failure within the PSU.
Needless to say, you should immediately turn off the PC and replace the PSU if this happens.
Diagnosing PSU Issues

Here’s a step-by-step guide to diagnosing potential PSU issues:
Step 1: Visual and Auditory Inspection
- Power down your computer and unplug it from the wall.
- Open the case and visually inspect the PSU for any signs of physical damage, bulging capacitors, or burn marks.
- Check all power connections to ensure they’re secure and properly seated.
- Look for any signs of heat damage on cables or nearby components.
- When powering on, listen carefully for any unusual noises coming from the PSU.
Step 2: System Stress Testing
Stress testing can help reveal PSU issues that may not be apparent during normal operation:
- Use software tools like Prime95 for CPU stress testing and FurMark for GPU stress testing.
- Run these tests individually and then simultaneously to put maximum load on your PSU.
- Monitor for any system instability, crashes, or unexpected shutdowns during these tests.
- Keep an eye on component temperatures to ensure overheating isn’t the cause of any issues.
Step 3: Event Log Analysis
Windows Event Viewer can provide valuable insights into system behavior:
- Open Event Viewer (search for it in the Start menu).
- Navigate to “Windows Logs” > “System”.
- Look for events with “Error” or “Critical” status, particularly those related to unexpected shutdowns or kernel power issues.
- Pay attention to the frequency and timing of these events.
Step 4: Using Diagnostic Tools
Specialized software and hardware tools can provide more detailed information about your PSU’s performance:
- Software tools like HWiNFO or AIDA64 can monitor and log voltage levels across different rails.
- A dedicated PSU tester can provide accurate voltage readings and test the PSU independently of other components.
- If available, use a multimeter to test voltage outputs directly from the PSU connectors.
Step 5: Isolating the PSU
To confirm that the PSU is the source of your issues:
- If possible, test your system with a known good PSU.
- Alternatively, test your PSU in another system to see if the issues persist.
- Remove all non-essential components and peripherals to reduce power draw and isolate the problem.
Remember, safety should always be your primary concern when dealing with power supply issues. If you’re uncomfortable performing any of these tests, it’s better to get professional help.
Preventing PSU Failure: Dust and Ventilation
Regular maintenance can help prevent many common PSU issues and catch potential problems before they worsen.
Dust Management: Dust accumulation is one of the most common and easily preventable causes of PSU issues. It can impede airflow, leading to increased operating temperatures. Higher temperatures can in turn reduce the efficiency and lifespan of PSU components. In extreme cases, dust buildup can even cause short circuits or electrical fires.
It’s easy to prevent this issue by cleaning out dust using compressed air. Pay special attention to the PSU’s intake and exhaust vents. If possible choose a case with dust filters on case intakes to reduce overall dust accumulation. Aim to clean your system at least every 3-6 months, or more often in dusty environments.
Ventilation and Cooling: Proper ventilation is essential for maintaining PSU performance over time. Ensure that your PC case has adequate airflow and position it away from heat sources, in a well-ventilated area. Also consider the orientation of your PSU within the case – some cases allow for the PSU to be mounted with its fan facing up or down, which can affect its cooling efficiency.
When to Replace Your PSU

Most quality PSUs will last at least as long as the rest of your system and often well over 10 years if it’s not under constant load.
However, any signs of physical damage or wear should be taken seriously. Replace the PSU right away of you experience:
- Bulging or leaking capacitors are clear indicators that the PSU needs immediate replacement.
- Frayed or damaged cables can pose a safety risk and indicate internal wear.
- Excessive heat damage or discoloration on the PSU or surrounding components is a red flag.
Also start looking for a replacement if you’ve been experiencing ongoing issues:
- Frequent system crashes or unexpected shutdowns that can’t be attributed to other causes.
- Consistent instability during high-load operations.
- Unusual noises (buzzing, clicking, or grinding) coming from the PSU that don’t resolve with cleaning.
Installation Best Practices
Before you begin the installation process:
- Gather all necessary tools, typically including a Phillips head screwdriver and an anti-static wrist strap.
- Clear a clean, well-lit workspace with plenty of room to maneuver.
- Familiarize yourself with your new PSU’s manual and specifications.
- Document your current PSU’s cable connections by taking photos.
Safety First! Ensure your computer is completely powered off and unplugged from the wall outlet. Wait a few minutes after unplugging to allow any residual charge in the system to dissipate. Also use an anti-static wrist strap or regularly ground yourself by touching a metal part of the case to prevent static discharge.
Removing the Old PSU
Remove the existing power supply:
- Disconnect all power cables from components within the case, noting their positions.
- Remove any cable ties or management systems holding the PSU cables in place.
- Unscrew the PSU from the case, typically located at the rear.
- Carefully extract the old PSU, being mindful of any cables that may be caught.
Preparing the New PSU
Before installing the new unit:
- If using a modular PSU, attach only the cables you need to minimize clutter.
- Verify that your new PSU’s switch is set to the correct voltage for your region (if applicable).
- Check that the PSU’s fan is oriented correctly according to your case’s airflow design.
Installing the New PSU
Position and secure the new power supply:
- Carefully lower the new PSU into the case, aligning it with the mounting holes.
- Secure the PSU to the case using the provided screws, ensuring a snug but not overtightened fit.
- If your case has a PSU shroud or cover, ensure it’s properly aligned and secured.
- Making Connections
Carefully connect all necessary power cables:
- Start with the motherboard’s 24-pin main power connector and 4/8-pin CPU power connector.
- Connect power to your graphics card(s) if required.
- Attach SATA power connectors to drives and optical devices.
- Connect any necessary Molex or other peripheral power connectors.
- Double-check all connections to ensure they’re fully seated and secure.
- Testing
Once installation is complete, reconnect your PC to the power outlet, power on the system and enter the BIOS where you can normally. Monitor system voltages to ensure they’re within spec. Then boot into your operating system and run stress tests to ensure stability under load.
Additional tip: Choose a modern PSU with a solid 80+ efficiency rating and it will last for a very long time.